Mine started with 5-in. squares of fabric, which finish to 4.5 in. coasters. One side is pieced or crazy pieced, the other side is a simple square of fabric. I used muslin for the foundation, and chose scraps of fabric that I thought would coordinate with my sister's living room colors. There are lots of good tutorials on foundation piecing, so I won't explain the process here, but it's very easy to do... and a bit addicting! After I made a set for my sister, I made another set for a friend, and plan to make a set for myself.
Make however many blocks you wish, then choose a fabric for the back. You can choose all your fabrics before you start, but I like to wait until the blocks are completed and pick something that complements each pieced block. You'll need a 5-in. square of each fabric.
I interfaced the pieced blocks with fusible fleece. Just cut a 4.5-in. piece and place it, fleece side up, on the wrong side of the pieced block. You need to press it from the fabric side, so flip fabric & fleece over. Be sure to read the directions that come with the fleece, as this interfacing is affixed differently from other types of fusible interfacing.
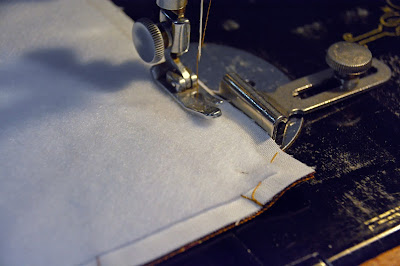
Once you've attached the fleece, pin the block right sides together to the backing fabric (a pin at each corner is enough). I recommend stitching from the fleece side, to keep the block from shifting around under the needle.
Leave a couple of inches open for turning. Press the block to set the stitches, then trim the corners. Turn the block right side out. Use a chopstick or crochet hook to poke each corner out. You want them to be uniform and as sharp as possible. Flatten the seams and press them, turning the opening in to match the seamlines. Topstitch about 1/8 in. from the edge.
Next comes some simple quilting, which will hold the layers together and give each coaster a unique look. For a quilt block or crazy quilted block, you can stitch "in the ditch" down each seam line. Or you can quilt an overall design on each coaster, maybe an X from point to point, or a star, or a spiral, or parallel lines, or whatever you wish. I chose a neutral thread so the stitching stands out, but also because I didn't want to keep changing thread colors. They'll look great any way you decide to finish them.
I also made a fabric box to keep the coasters in, and think it turned out really cute. This is a really fun project. The coasters are easy to make, it's a great way to use up fabric scraps, and a set of coasters makes a really nice gift. My notes about the fabric box can be found here.


No comments:
Post a Comment
I love that you took the time to read my blog, and appreciate your comments.